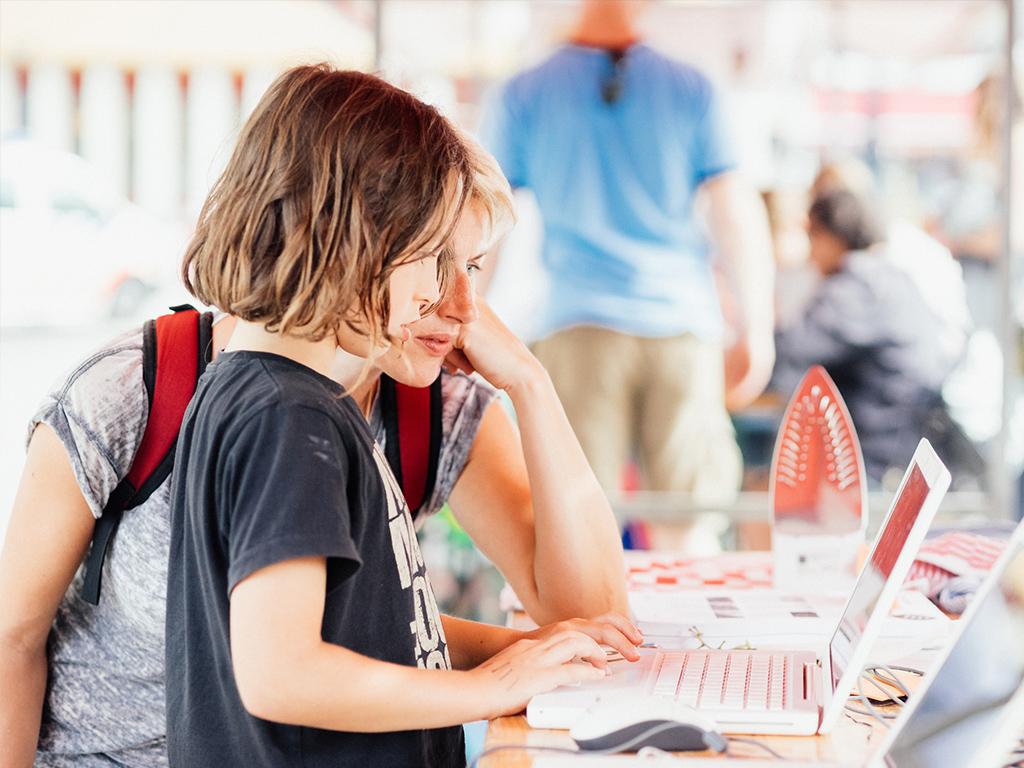
During the FabSchool Kids workshops, the young participants discover a world of 3D printers, programming, and advanced graphic design applications. Four of these workshops have already taken place, so the kids are now busy building and designing their own inventions.
Think it - build it!
In the first workshop, participants made a TV-B-Gone: a remote control that can turn off any TV! But how do you go about building such a thing? A brief photo essay will demonstrate how the workshop went.

It’s preparation time! The Diavolino parts are collected. This is the starting point for a remote control with the power to turn off any TV, any time!

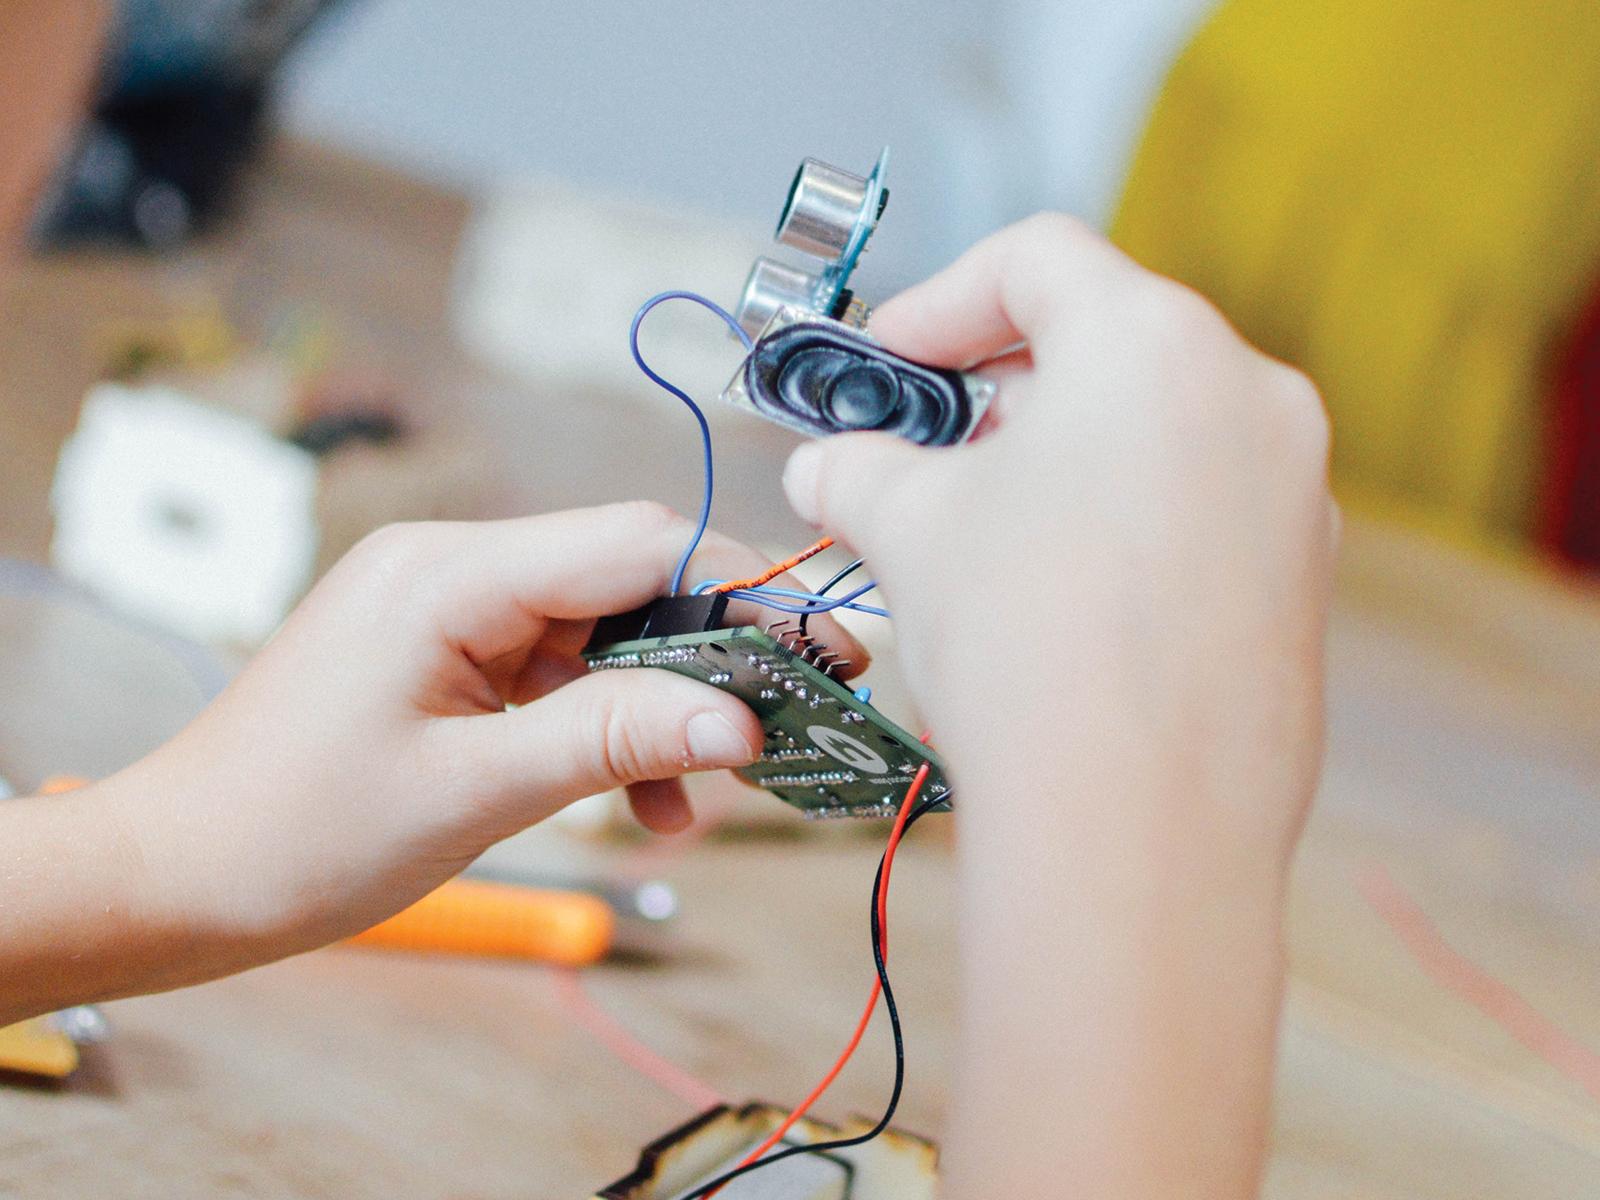
All the soldering machines are waiting to be used for the first time. The kids will use these to solder the Diavolino parts, which is quite a challenge for their first FabSchool workshop!

The first kids enter the Fablab. Cecilia, one of the workshop teachers, starts off by making small, interesting objects for the kids with the 3D printer. We’ve got their attention! Success!

Now it’s time to get started. Because we're using Instructables, the steps the kids need to follow are crystal clear. The kids are working hard to create the Diavolino in just a single afternoon!

The soldering isn’t very easy at the beginning, but after a bit of practice the kids get better and better!

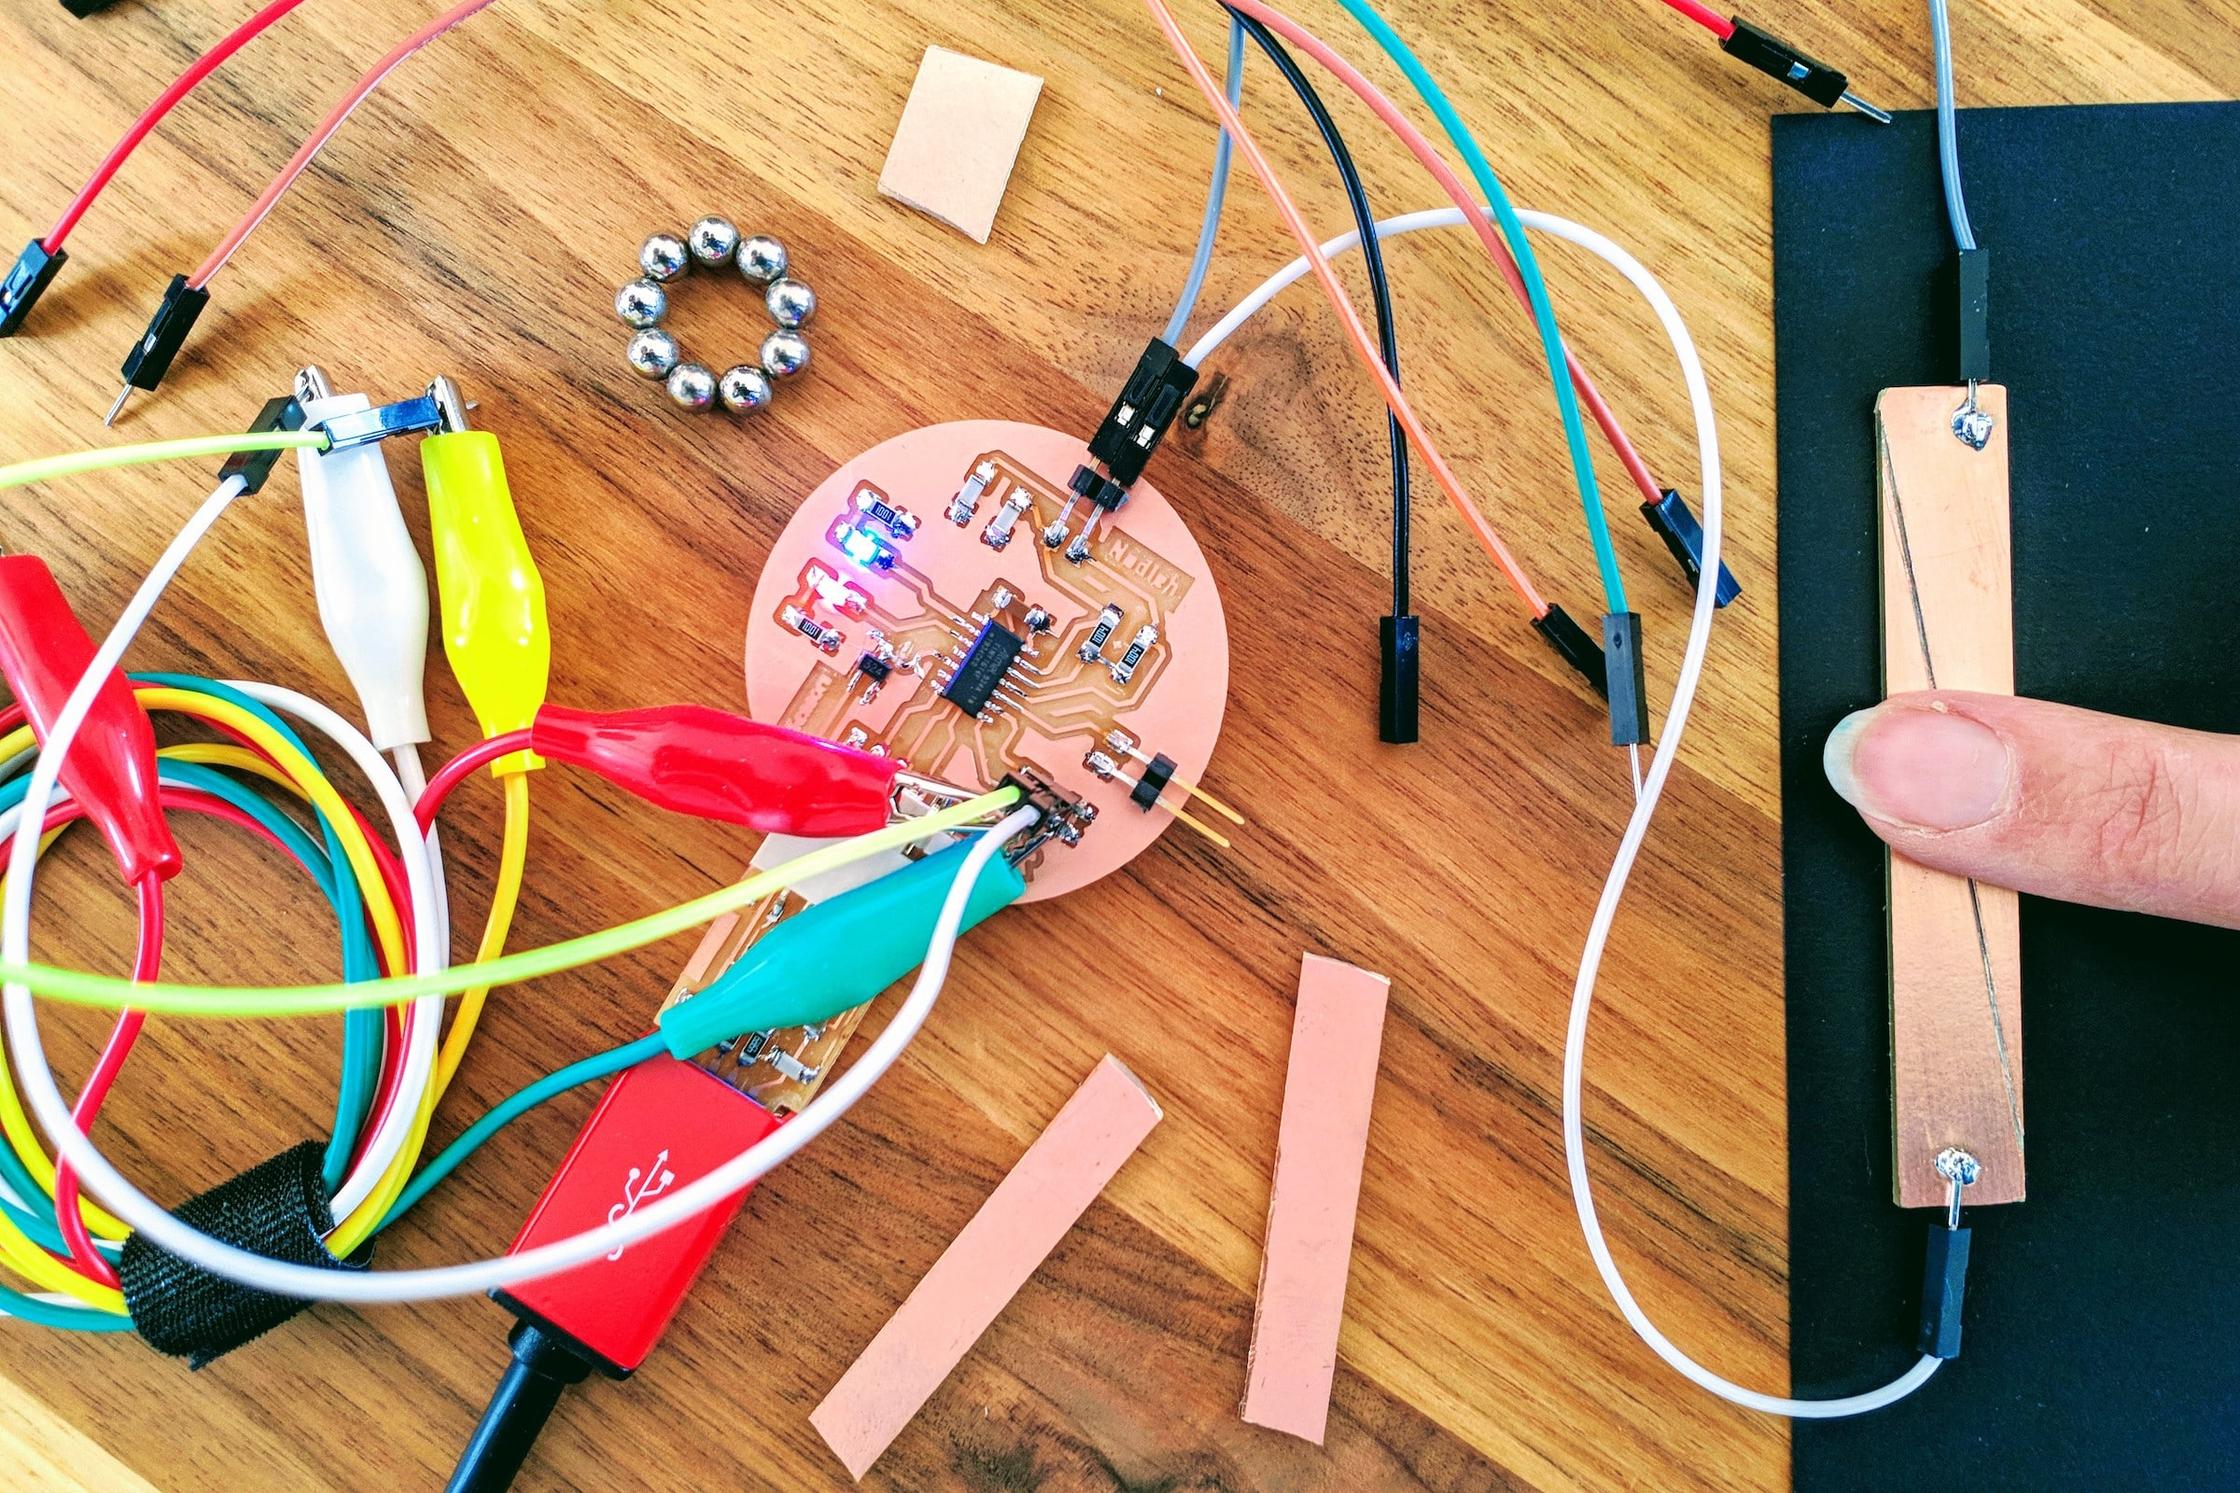
In the meantime, our young participants learn about the Makey Makey. Oops, the electric banana piano didn’t survive the afternoon.

After all that hard work, it’s time for a short break: a glass of lemonade!

The first FabSchool Kids workshop has come to an end. All the participants finish up their last tasks before heading back home again. It was a good first session! In the next workshop, we will continue working on the Diavolino and the TV-B-Gone. We’re excited!
Want to join in the fun? Get started with ‘learning by doing’ at home! You can find the Diavolino instructions here in English.


